Table Of Contents
Accessing the Air Handler Blower
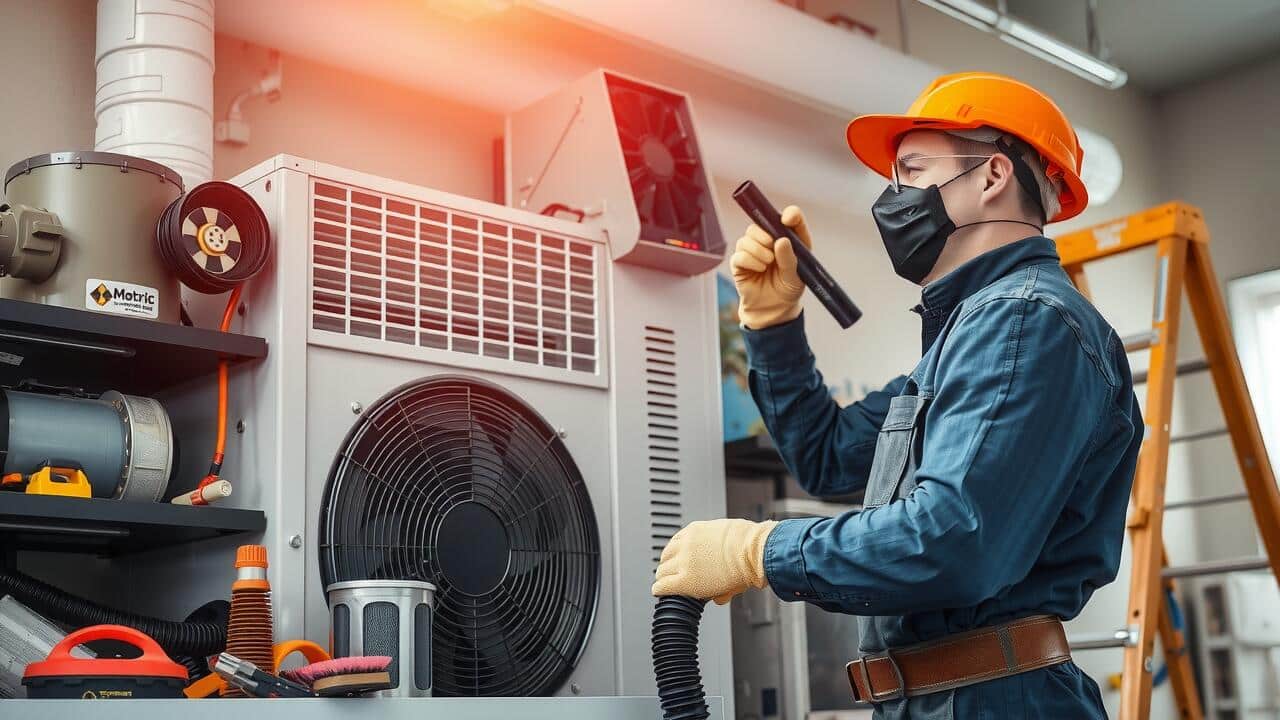
To begin the process of Air Handler Cleaning, locate the air handler unit, typically found in basements, attics, or utility rooms. Ensure the power supply is turned off before proceeding. This precaution protects against any accidental startup while you are working on the blower assembly. Check the manufacturer’s manual for specific instructions regarding access points unique to your air handler model.
Once you’ve ensured safety, look for the access panel on the air handler. Most units have a few screws or clips that keep the panel securely in place. Remove these fasteners carefully to avoid damaging the panel. Gently lift or slide the access panel off, which will reveal the blower assembly. This is the crucial step in making the air handler blower accessible for thorough cleaning and maintenance.
Steps to Remove the Access Panel
Begin by locating the access panel on your air handler. Typically, this panel is situated on the front or side of the unit and is secured with screws or clips. Use a screwdriver to gently remove any screws or release the clips. It’s essential to keep these screws in a safe location, as you will need them to reattach the panel after cleaning. If the panel resists removal, check for any additional fasteners that might be hidden.
Once the access panel is detached, take a moment to inspect the interior of the air handler. Dust and debris may have accumulated around the blower assembly, which is crucial for effective air flow. As part of your air handler cleaning process, ensure that you avoid using excessive force when opening the panel to prevent damage. Lifting it carefully will allow for easier access and a more efficient cleaning experience.
Cleaning the Blower Assembly
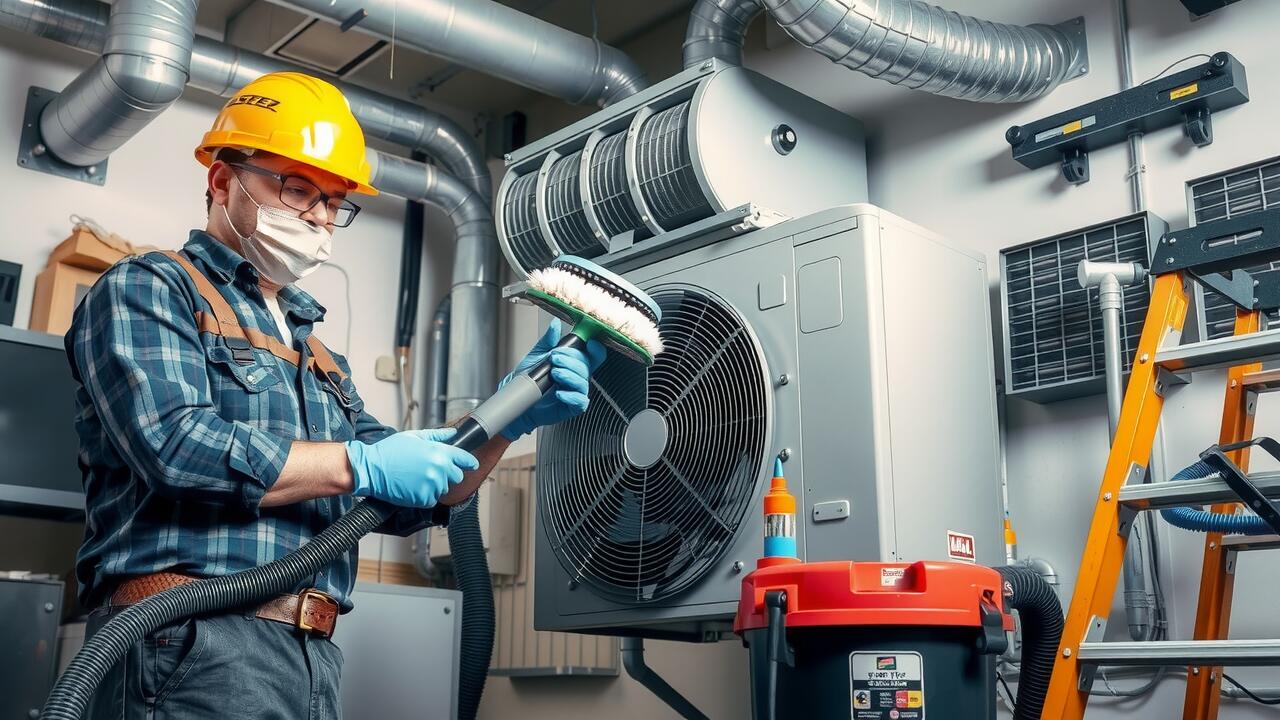
Cleaning the blower assembly is essential for maintaining efficient airflow and prolonging the life of your air handling unit. Begin by dusting off any visible dirt using a soft brush or a vacuum with a brush attachment. Pay attention to the areas around the motor and housing, as dust accumulation can impair performance. When doing Air Handler Cleaning, ensure that you are thorough but gentle to avoid causing any damage to sensitive components.
After removing the larger debris, use a damp cloth or a mild cleaning solution to wipe down the surfaces of the blower assembly. This helps to remove any remaining grime and prevents it from recirculating through the system. For stubborn spots, a non-abrasive cleaner may be beneficial. Always wear gloves and a mask during this process to protect yourself from dust and chemical exposure. Properly cleaned blower assemblies contribute to smoother operations and improved energy efficiency.
Techniques for Effective Cleaning
For effective Air Handler Cleaning, using a vacuum with a brush attachment can help minimize dust and debris buildup. Start by carefully vacuuming the blower assembly to remove any loose dirt. Pay special attention to crevices where particles tend to accumulate. A soft cloth dampened with a mild detergent can also be useful for wiping down surfaces without causing damage. Always ensure that the water does not enter electrical components to avoid hazards.
In addition to vacuuming, utilizing compressed air can aid in dislodging stubborn dirt from various components. Direct the air flow carefully to avoid damaging any parts. It may be beneficial to have a helper hold the blower assembly steady during this process. After cleaning, give the area around the blower assembly a final inspection to ensure that all debris is cleared away. This step is crucial for maintaining optimal performance and efficiency in your system.
Checking the Fan Blades
Examining the fan blades is an essential part of air handler cleaning. These components can accumulate dust, dirt, and debris, affecting the efficiency of the blower. Start by visually inspecting the blades for any signs of build-up or damage. If the blades appear dirty, it’s crucial to clean them to ensure optimal airflow and prevent strain on the motor.
To clean the fan blades, use a soft brush or cloth to gently wipe away any accumulated dust. For more stubborn grime, a mild detergent mixed with water can be applied. Avoid using abrasive materials that could scratch the blades. Once cleaned, thoroughly dry the blades before reassembling the air handler. This careful attention helps maintain the longevity and effectiveness of the blower assembly.
How to Inspect and Clean Fan Blades
Inspecting and cleaning the fan blades in your air handler is crucial for maintaining optimal airflow and efficiency. Begin by turning off the power to the air handler to ensure safety during the cleaning process. Examine the blades for dust buildup, debris, or signs of wear. Any accumulated grime can hinder performance and lead to increased energy consumption, making regular maintenance essential.
To clean the blades, use a soft brush or cloth dampened with a mild cleaning solution. Gently wipe each blade from the base to the tip, avoiding excessive pressure to prevent bending or damaging them. Ensure thorough cleaning to eliminate any obstructions. Regular air handler cleaning will help prolong the lifespan of your unit and enhance its effectiveness in circulating air throughout your space.
FAQS
Why is it important to clean the air handler blower?
Cleaning the air handler blower is essential for maintaining optimal airflow, improving energy efficiency, and prolonging the lifespan of the HVAC system. It also helps prevent dust and allergens from circulating in your home.
How often should I clean the air handler blower?
It is generally recommended to clean the air handler blower at least once a year. However, if you have pets or live in a dusty environment, you may want to clean it more frequently.
What tools do I need to clean the air handler blower?
You will typically need a screwdriver to remove the access panel, a vacuum cleaner with a brush attachment, soft brushes or cloths, and possibly a commercial HVAC cleaner for stubborn dirt.
Can I clean the air handler blower myself?
Yes, you can clean the air handler blower yourself if you feel comfortable with basic DIY tasks. However, if you’re unsure or if the system is complicated, it may be best to hire a professional.
What should I do if I notice damage while cleaning the blower?
If you notice any damage to the blower or its components while cleaning, it’s best to consult a professional HVAC technician for repair or replacement to ensure safe and efficient operation.