Table Of Contents
Cleaning the Blower Wheel
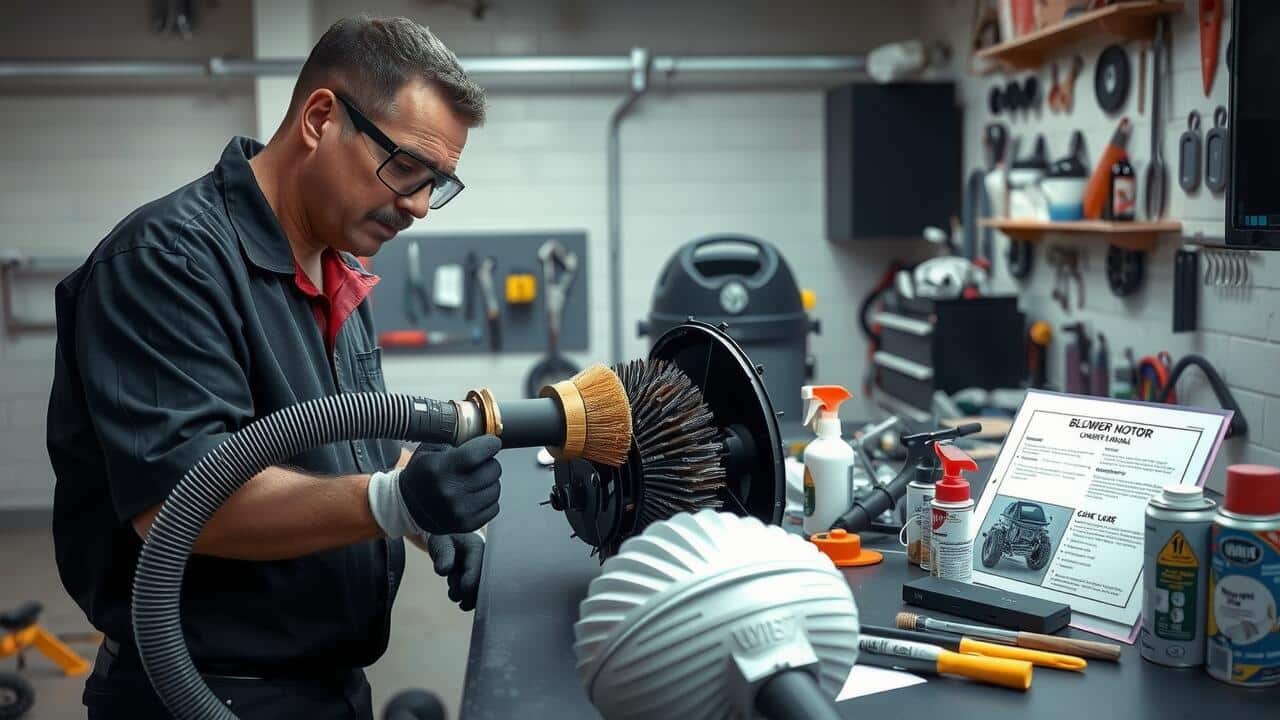
Cleaning the blower wheel is a crucial step in maintaining overall system efficiency. Dust and debris can accumulate on the wheel, leading to decreased airflow and potential strain on the blower motor. To perform blower motor cleaning effectively, begin by inspecting the blower wheel for visible dirt buildup. A vacuum cleaner with a crevice attachment can help remove loose particles, but additional cleaning may be necessary for more stubborn grime.
For more thorough cleaning, a soft brush can be employed to gently dislodge any adhered debris. Dampen the brush slightly to prevent static electricity and ensure dust does not recirculate into the air. Be cautious not to use excessive water or cleaning fluids, as these could damage the motor components. Regular blower motor cleaning will not only enhance performance but also extend the lifespan of the unit.
Techniques for Effective Cleaning
Effective cleaning of the blower motor requires a systematic approach. Begin by ensuring the power is turned off to prevent any accidents. Utilize a vacuum with a brush attachment to gently remove dust and loose debris from the blower wheel. For stubborn buildup, using a soft cloth or a small brush can help reach crevices that vacuuming alone might miss. A mixture of soapy water can be applied to these tools for deeper cleaning, but it is essential to keep moisture away from the motor itself.
Another technique involves utilizing compressed air to blow out dust from the motor housing and blower wheel. This method is particularly helpful in dislodging particles that are difficult to reach. When performing blower motor cleaning, take care not to bend any components while cleaning. After the cleaning process, check for any signs of wear or damage, ensuring everything is in good condition before reactivating the system.
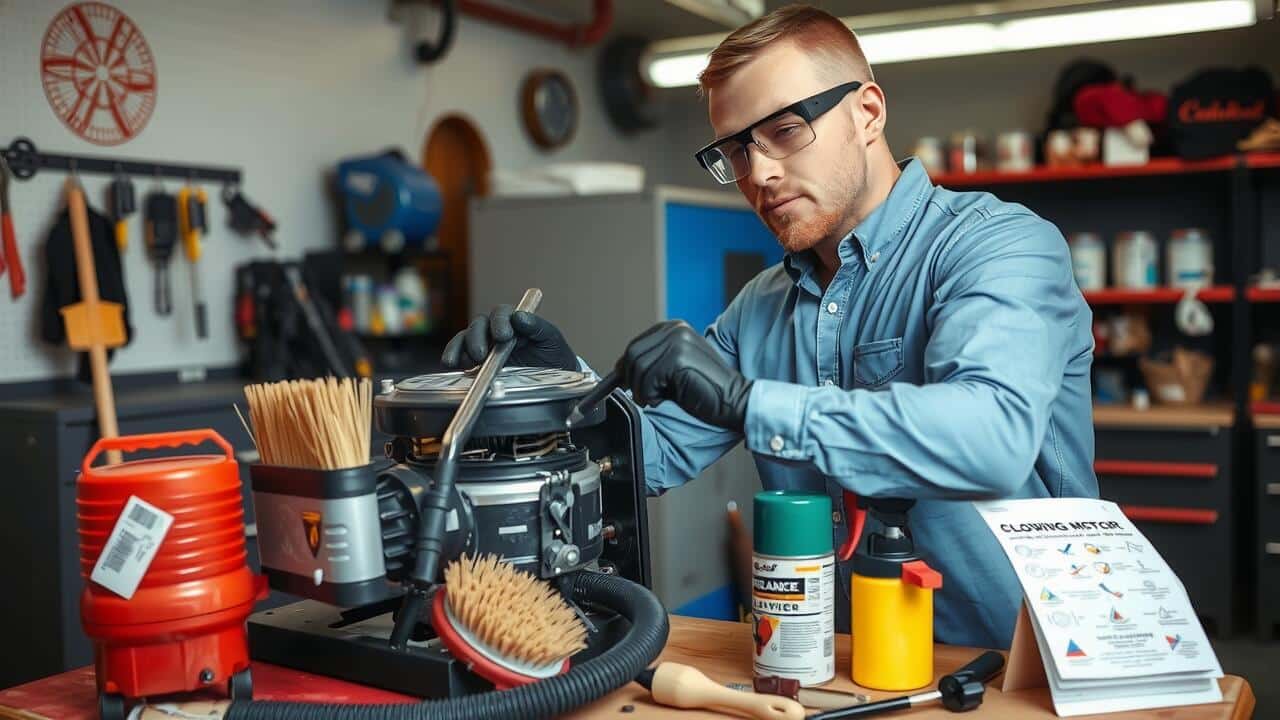
Cleaning the Motor Housing
Cleaning the motor housing is an essential step in the blower motor cleaning process. Dust and grime can accumulate over time, potentially affecting the motor’s performance and longevity. Start by turning off the power to the system to ensure safety while working. Use a soft brush or cloth to gently remove loose dirt from the housing. For stubborn spots, a mild detergent mixed with water can help break down the grime without damaging the surface.
After initial cleaning, make sure to dry the motor housing thoroughly before reassembling any components. This prevents moisture buildup, which can lead to corrosion or additional debris attracting dust. Regular maintenance of the motor housing not only enhances the efficiency of the blower but also extends its lifespan, ensuring optimal operation for your heating and cooling system.
Steps to Remove Dust and Debris
To effectively remove dust and debris, begin by gathering the necessary tools. A vacuum cleaner with a hose attachment works well for sucking up loose particles. A soft brush, such as a paintbrush or a dedicated blower motor cleaning brush, can help dislodge any stubborn dirt that clings to the surfaces. It’s essential to be gentle while brushing to avoid damaging any components.
Once you’ve collected the loose debris, direct the vacuum nozzle towards the blower motor and wheel to eliminate any remaining particles. Aim to clear out the motor housing and surrounding areas since these can accumulate significant amounts of dust over time. Regular blower motor cleaning can enhance efficiency and extend the lifespan of your equipment.
Checking and Cleaning the Air Filter
A clean air filter plays a crucial role in the performance of your heating and cooling system. When the air filter is clogged with dust and debris, it restricts airflow, making the blower motor work harder. This can lead to inefficiencies and increased energy costs. Regular inspection and cleaning of the air filter help maintain optimal airflow, reducing strain on the blower motor and prolonging its lifespan. During your blower motor cleaning process, ensure you address the air filter for the best results.
To clean the air filter effectively, first, turn off the power to your HVAC system to ensure safety during the process. Remove the filter from its housing, and check whether it is disposable or reusable. If it’s disposable, replacing it with a new, clean filter is the best option. For reusable filters, rinse it under lukewarm water and allow it to dry completely before reinserting it. Performing this maintenance step regularly contributes significantly to the overall efficiency of your system and aids in ensuring that the blower motor functions smoothly.
Importance of a Clean Air Filter
A clean air filter is essential for maintaining optimal airflow in a heating and cooling system. When the filter clogs with dust and debris, it restricts airflow, causing the blower motor to work harder. This extra strain can lead to overheating and premature failure of the motor. Regularly changing or cleaning the air filter ensures that the blower motor operates more efficiently and reduces the risk of damage.
Incorporating routine blower motor cleaning alongside air filter maintenance enhances overall system performance. A clear path for air improves the return flow, which helps maintain consistent temperatures in your space. Additionally, a clean filter contributes to better indoor air quality by trapping allergens and pollutants, ensuring the environment remains healthy and comfortable.
FAQS
Can I clean a blower motor without taking it out of the unit?
Yes, you can clean a blower motor without removing it by using specific cleaning techniques and tools that allow you to access the components safely.
What tools do I need to clean a blower motor?
You will typically need a vacuum cleaner with a hose attachment, a soft brush, a microfiber cloth, and possibly a compressed air canister to reach tight spaces.
How often should I clean my blower motor?
It is recommended to clean your blower motor at least once a year, or more frequently if you notice dust buildup, reduced airflow, or unusual noises.
Is it safe to use water or liquids when cleaning the blower motor?
No, it’s not safe to use water or liquids directly on the blower motor or its components, as this can cause electrical damage. Instead, use dry cleaning methods.
What should I do if I still have issues after cleaning the blower motor?
If you still experience problems after cleaning, it may be best to consult a professional technician to inspect the motor for potential defects or replacements.